I was so thrilled to find this post detailing how to create an Android app without the Android Studio or other IDE.
To my absolute astonishment, the example still works to this day.
But so the question remained: How to get my app onto the phone?
Untethering from the phone
Short of the IDE emulator, putting it on a smartphone via adb was the only real option I knew about. There are probably other ways. I never did much with smartphones, anyway, so I wouldn't know. In fact I absolutely can't stand smartphones, and I never use them unless I have to.
That's why, in the past, I've tried some emulators to replace the need for having a smartphone at all.
Unfortunately, that doesn't work for most critical things you are forced to use a smartphone for, like banking authentication for online purchases, that mostly can't be done with SMS 2FA anymore.
But for less picky apps, it can work. It's clunky, but it gets you off the spy device.
And of course, that means we can use it for development.
The Android PC
Now android-x86 is probably not the very best benchmark for what runs on a phone. It is, after all, a open source fork of Android designed to run as a PC OS. [1]
But when using qemu virtualization, having an x86 setup means one doesn't have to mess around with bootloaders and Device Tree Specifications and stuff to get everything running.
As a first line test environment, it should work well enough.
Getting android-x86 to run on qemu [2] isn't hard at all. You simply create a disk image, fire it up with that disk and the distribution ISO [3] as a "cdrom" and
# create disk image
$ qemu-img create -f raw ax86.img 10G

# start the installer with the new disk image
$ qemu-system-x86_64 --enable-kvm -m 2G -cdrom /path/to/iso -hda ax86.img
Once running, use whatever GUI client qemu is running (mine is VNC), and set up the OS, as follows:
- Choose the "Installation ..." option in the boot menu.
- Create a single partition (do _not_ use GPT).
- Format with ext4.
- Yes, install GRUB.
- Make the partition read/write.
- Run the OS
- Go through the initial setup on the phone.
When done [4], mine looked like this:
(I chose the "taskbar" option for navigation)
App transport
Now, let's look at three ways to get your apk file onto the emulated instance.
The internet
Smart phones are in reality mostly just remote controls to stuff happening on the internet. I guess that's why interacting with one from your computer always seems so unintuitive.
Therefore, the most obvious way is to just upload the apk somewhere on the internet [5], and then punch in the URL to download it.
Yes, you heard right. You are typing the URL.
With your mouse on software keyboard.
With this running on qemu you don't have a camera readily available. So no QR codes for you. Fun? On a phone: Not very.
Port-forwarded adb
Using the hostfwd option, qemu lets us expose guest ports to the host. That is very practical for us, as we can use adb with TCP, and send the application that way.
Close down the emulator [4], and run it again with an edited qemu command:
# qemu but this time with host forwarding
$ qemu-system-x86_64 --enable-kvm -m 2G -hda ax86.img -net user,hostfwd=tcp::5555-:5555 -net nic,model=rtl8139
Once the android instance has finished booting, we can use adb to push our app to it [6]:
# connect to the remote administration tcp socket.
$ adb connect localhost:5555

# push the app to the phone through the tcp socket, replacing any existing app.
$ adb -s localhost:5555 install -r /path/to/apk
You should be getting a message saying the installation was successful. After that, the app should be visible in the menu.
A phony usb stick
The last method to demonstrate is the usb solution.
At the time of writing, androidx86 only supports EHCI USB.
Once you're powered off your instance again, adding the USB device can look like this [7]:
# Make the usb image
$ qemu-img create -f raw usb.img 2G

# In order for androidx86 to make sense of the disk, it also has to be partitioned.
# Just create a single partition on it (I used the Linux FS partition type, not sure if it matters).
$ fdisk usb.img
[...]

# Start the emulator again with the USB drive.
$ qemu-system-x86_64 --enable-kvm -m 2G -hda ax86.img -drive if=none,id=usbstick,format=raw,file=img/usb.img -usb -device usb-ehci,id=ehci -device usb-tablet,bus=usb-bus.0 -device usb-storage,bus=ehci.0,drive=usbstick
Once powered up, a notification will appear complaining that the USB disk needs a fix.
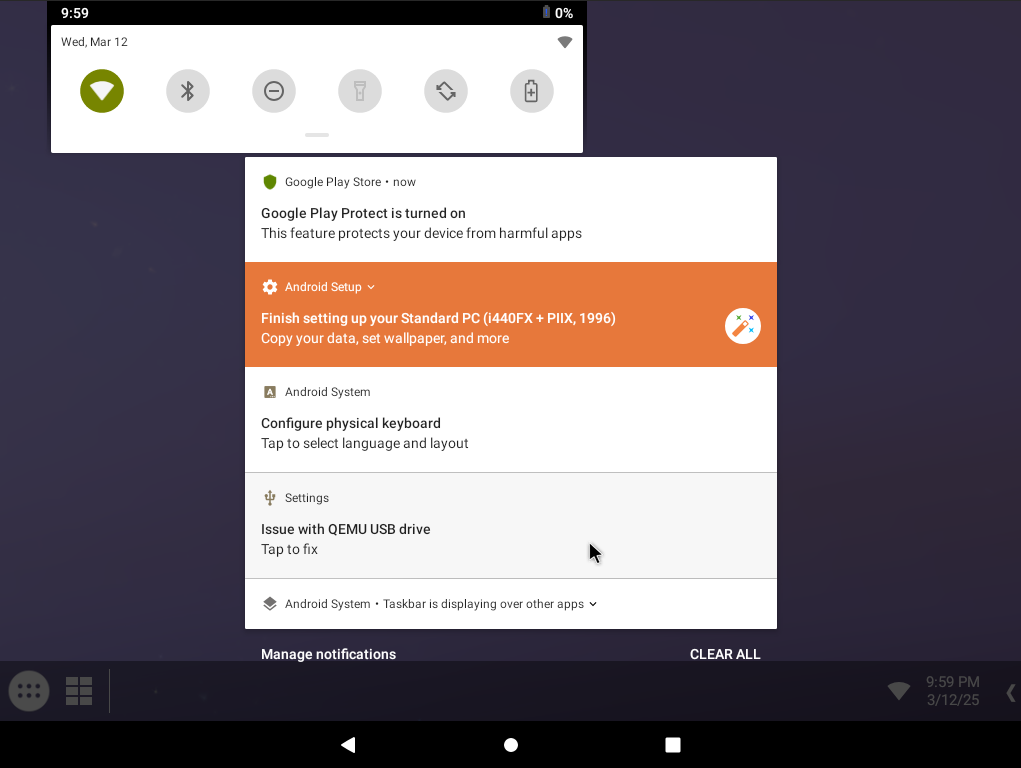
Format it for "removable drive" and power down again.
Now that you have a formatted USB image [8], you can mount it as a loop device, and copy the apk file to it:
# The loop device must mount at the offset of the first partition.
# Use fdisk -l usb.img to see sector size and start sector of the partition.
# Remember your offset will be (sectors * sector size)
# On my setup the partition started on sector 2048, and the sector size was 512 bytes. 2048 * 512 = 1048576
$ sudo mount -o loop,offset=1048576 usb.img /mnt

# Copy the file
$ cp /path/to/apk /mnt/

# Unmount the drive
$ sudo umount /mnt
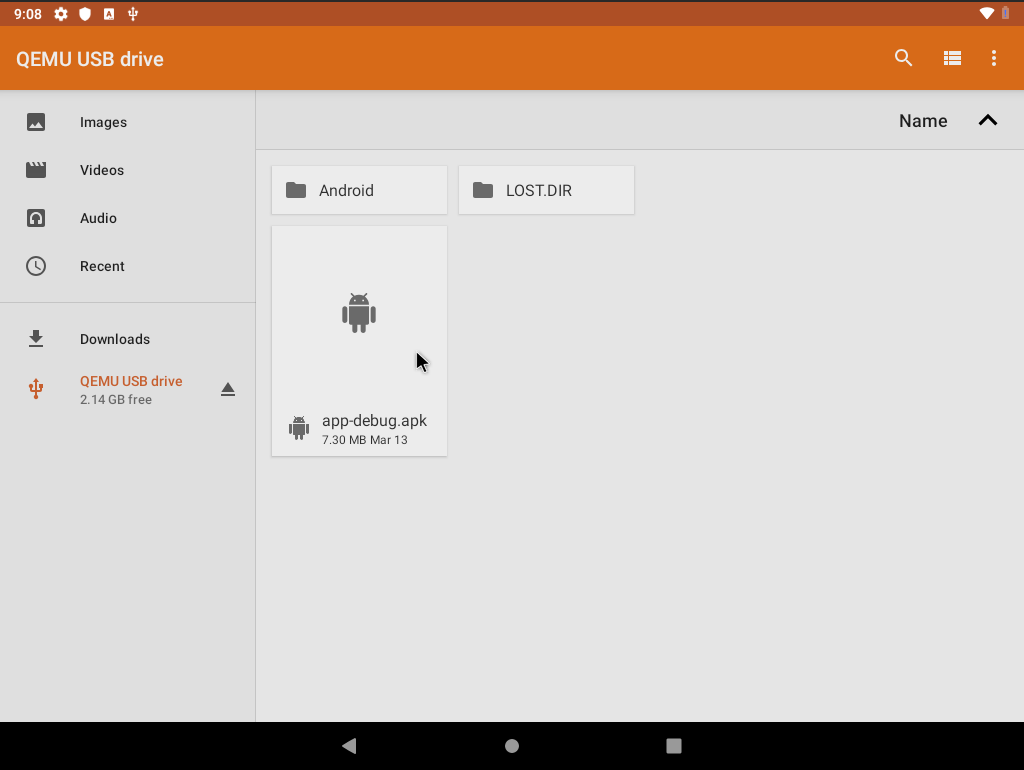
Now, after you start up again, the USB device should appear in the file explorer.
And in the USB folder, you should see the app.
[1] After writing all this, I noticed that the last version of android-x86 was released in 2022. So perhaps it has since been abandoned, who knows. Anyway, it is based on LineageOS, which means most of what is written here still should apply, e.g. when running qemu-system-aarch64 with that. The USB stuff might look a bit different, though. Perhaps something for a future post.
[2] I used QEMU version 9.2.0.
[3] I used androidx86 version 9.0-r2.
[4] (1, 2) As the phone setup process is painfully slow and tedious, this can be a good time to make a copy of your disk image. That way, you can always make a new copy of that one to start with just as fresh a setup as you have now. You will want to stop the emulator first: press Alt+F1 to enter console, and issue the "poweroff" command.
[5] If you set up a TAP device and use that as the network interface with qemu, you can also reach a webserver on your host. Have a look at this article if you are feeling adventurous enough to try.
[6] If you issue adb devices you may notice an additional device emulator:5554 listed. This is why you need to specify the device to install to, otherwise you get an error. On my setup, this emulator device is offline and does not work.
[7] Lifted from https://qemu-project.gitlab.io/qemu/system/devices/usb.html#ehci-controller-support
[8] It is probably a good idea to make a copy of this one too, so you have a fresh one available when you need it.